Edit your navigation menu
Dashboard > Settings > Menu > Header
The header menu is the row of links at the top of every page.
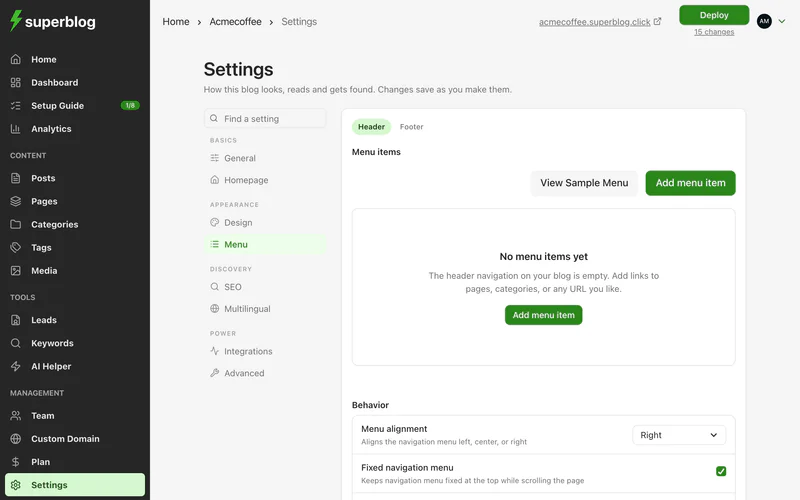
Add a link
- Click Add menu item.
- Enter a Label, the text readers see.
- Enter a URL. It must start with
https://,http://,/for a page on your blog, or#. - Save.
Drag items to change their order. Click View Sample Menu to see an example.
Make a dropdown
- Click Edit on a menu item.
- Under Nested menu items, click Add nested item.
Nested items can have nested items of their own, up to the depth the editor allows. A menu item that has nested items opens its dropdown instead of going to its own URL.
Turn a link into a button
Click Set as CTA button on a menu item to show it as a button, for example Book a demo. Click Remove CTA style to turn it back into a link.
Menu behaviour
Use your own website's header
To replace this menu with your own website's header HTML, see Custom header and footer HTML.
If your blog uses a custom template, the template draws its own menu. It still uses your menu items and call to action.
Translate the menu
On a multilingual blog, each menu item can be translated. See Multilingual blogs.