Connect your own domain
Dashboard > Custom Domain
Every blog starts on a free Superblog address, such as yourblog.superblog.click. You can move it to your own domain at any time. Connecting a custom domain needs a paid plan.
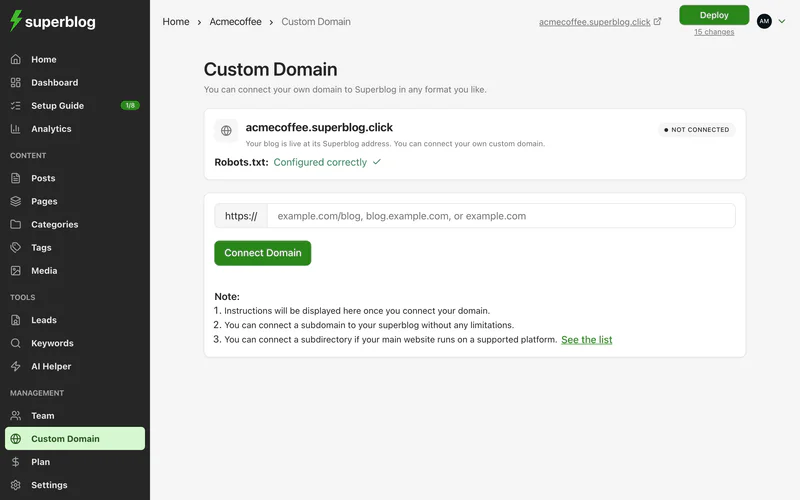
Choose a format
Read subdomain vs subfolder for the reasoning.
If you enter your root domain, Superblog asks whether you really want your whole website on Superblog, and offers a subdomain or subdirectory instead.
Connect it
- Go to Custom Domain.
- Enter the address you want, such as
blog.example.comorexample.com/blog. - Click Connect Domain.
- Follow the steps the dashboard shows for your format:
- Connect a subdomain (also used for a root domain)
- Connect a subdirectory
- Deploy, so your blog is built for its new address.
Superblog checks your website first. If it redirects to www, or its pages use a different address, Superblog recommends that address, so your blog matches the rest of your site.
Check the setup
The page shows the domain's Current Status, your Blog address, and whether your main website's Robots.txt points search engines to your blog's sitemap. If it says Needs attention, click View details for the line to add.
Disconnect it
Click Disconnect domain. Your blog stops being served at that domain and returns to its Superblog address. You can connect again later.